I have needed a bulletin board in my sewing room for some time now. I kept putting off taking care of that because I wanted something just a little different than what you'd expect.
I had an old bulletin board of Barbie's that I wanted to use. And I had some posters of Renoir art that I picked up at a yard sale -- for free. And then, it hit me -- the posters and the bulletin board were the same size!
It's like it was meant to be.
So I made myself a new bulletin board using the old ratty one I had, plus a poster, plus some middy braid from the fabric store. Here's how you do it:
1. You will need an old bulletin board, a poster the same size, a staple gun, and some ribbon or braid trim. I wanted gold, to match the gold accents in the poster. So I found something called "middy braid," which is found in the bias tape section of the fabric store or your local WalMart.
(Middy braid has been traditionally used to trim any type of sailor collar, and comes in black and navy, as well as white and gold and silver)
I used about 3 packages of the middy braid. If you use ribbon, you'll need about 12-15 yards, or 4-5 spools.
Step 1: Line your poster up with the edges of your bulletin board -- poster covering the cork -- and staple the edges down. Don't worry about the staples showing. Try and staple into the wood frame. This is now the outside of your board.
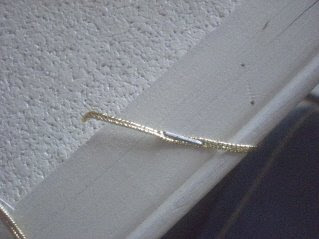
Step 2. Take your braid trim or ribbon and start about 6" from one corner. Staple one edge to the wrong side of the bulletin board,
Step 2. Take your braid trim or ribbon and start about 6" from one corner. Staple one edge to the wrong side of the bulletin board,
and then angle it up to form the long side of a triangle with the ribbon/trim.
Then staple it to the other side of the board, and then snip the end.
Step 3. Keep going diagonally across the board, spacing your ribbon about 4-5" apart, making lines by stapling on the wrong side of the board, until you've covered the entire board with diagonal ribbon lines.
Step 4. Now do the same thing but cross the lines you've already made. Start at the corner opposite the one you began originally, and do the same thing. You'll crisscross all your lines, stapling your ribbon to the opposite side of the board.
Step 5. Flip your board over. You're done! If you like, you can glue the cross points of the ribbon with buttons or beads. If you don't want to have pinholes in your poster, use the ribbon to hold your photos and notes. If you don't care about the poster, use tacks. I use both.


What a great idea! Awesome!
ReplyDeleteSWEET!! This gives me a brilliant idea about some foam core and a poster i've got sitting around in my garage.
ReplyDeleteThanks
SO nice !!
ReplyDelete